
 Anabelle
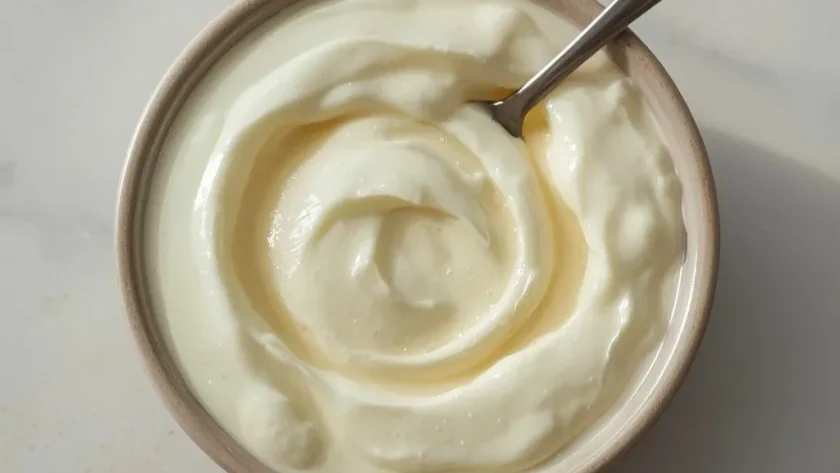
 Pioneer Woman Instant Pot Yogurt is the kind of recipe that makes you wonder why you ever bought yogurt at the store. This creamy, tangy, and luxuriously thick homemade yogurt comes together using whole milk and a simple starter culture, all incubated right in your Instant Pot. It’s a foolproof fermentation method that delivers a silky-smooth texture with a bright, refreshing tartness.
You’ll need about 15 minutes of hands-on prep time, plus an 8-hour incubation period, making this a beginner-friendly project that mostly runs itself. It’s perfect for weekend meal prep or a Sunday afternoon kitchen experiment. The only slightly tricky part is cooling the milk to exactly 115°F before adding your starter, but I’ll walk you through it step by step.
A Quick Glimpse at Pioneer Woman Instant Pot Yogurt
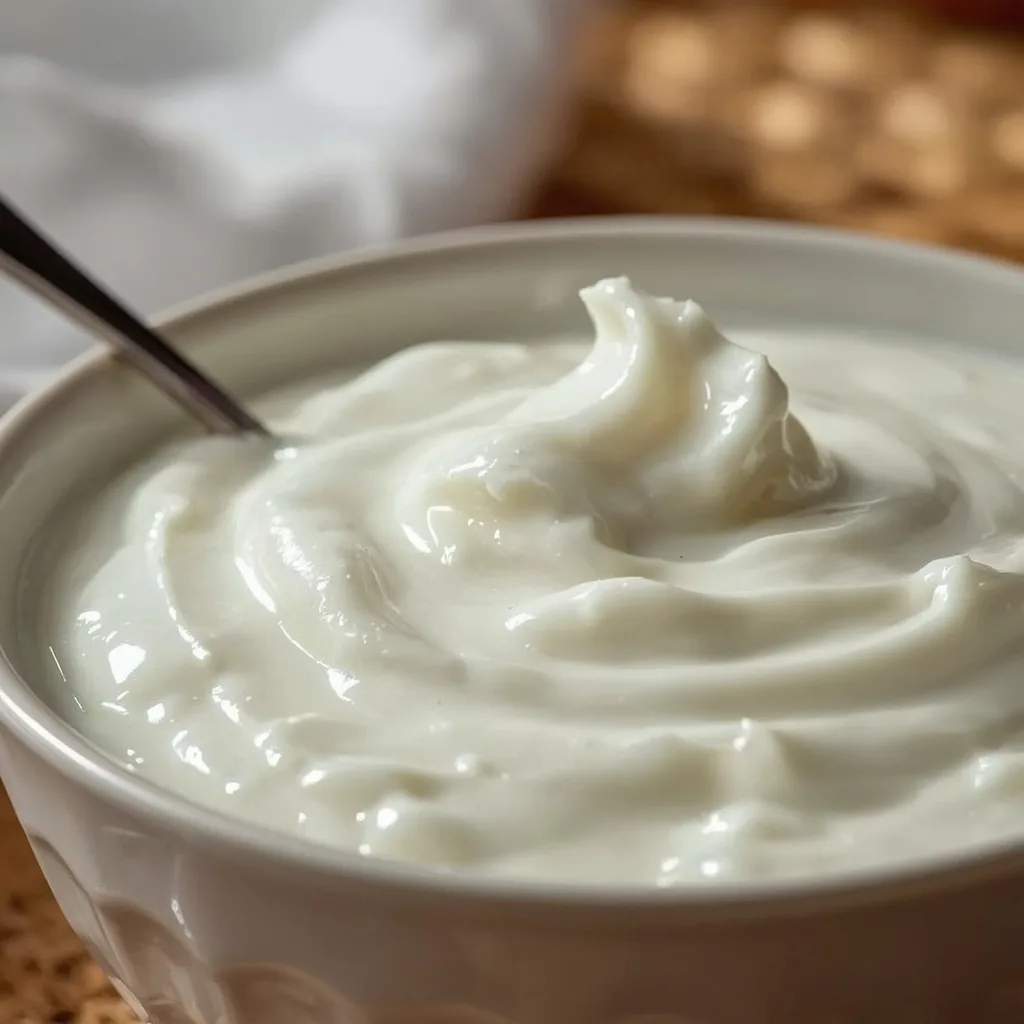
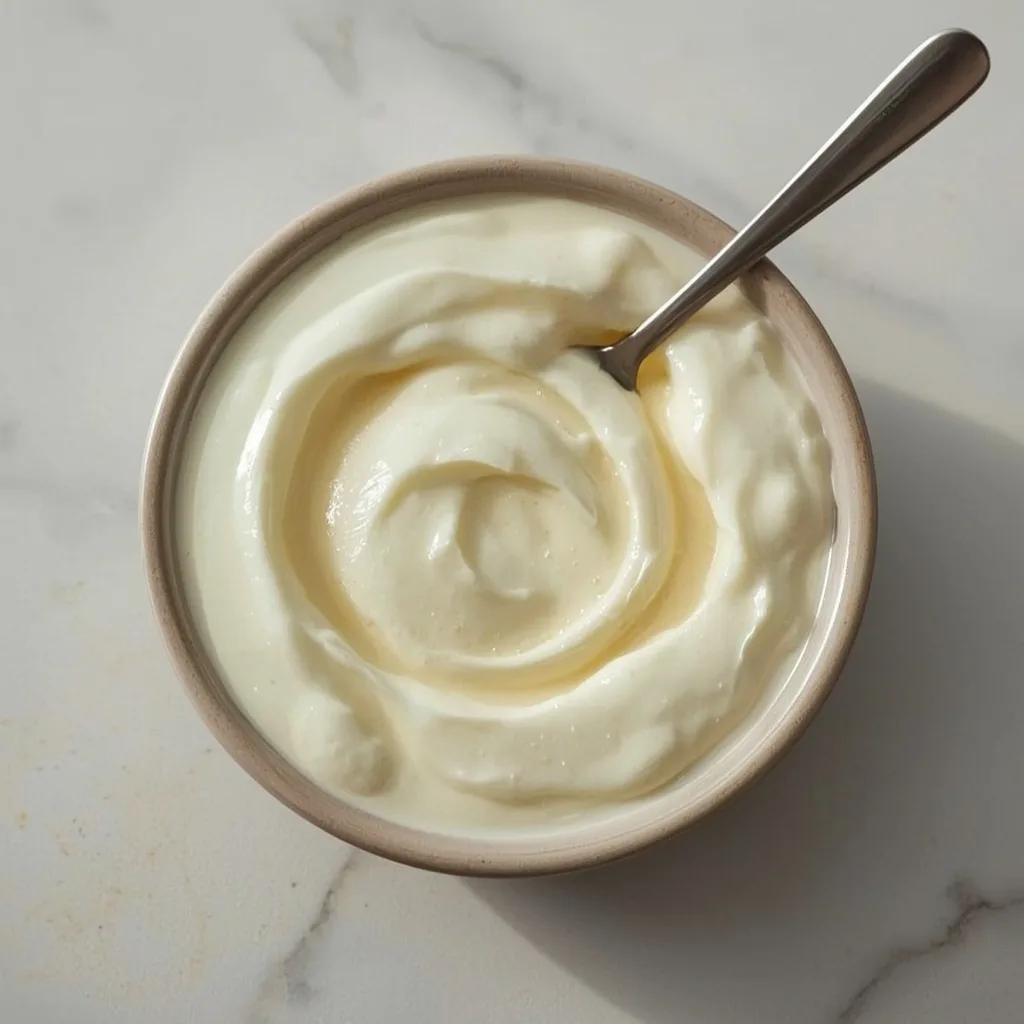
This recipe takes just four simple ingredients — whole milk, plain yogurt with live active cultures, water, and optional honey or maple syrup — and turns them into a thick, custard-like yogurt. The Instant Pot does all the heavy lifting with its yogurt function, handling both the boiling phase and the 8-hour incubation cycle. The result is a creamy, sliceable yogurt that holds its shape when tilted, with a pleasant tang that brightens any breakfast bowl. It’s an American kitchen staple that feels fancy but costs a fraction of store-bought versions.
Why This Recipe is Worth Trying
Here is what convinced me to make yogurt at home instead of grabbing a tub at the store.
- Cost savings — A half-gallon of whole milk costs about the same as a single small cup of premium yogurt, so one batch pays for itself immediately.
- Customizable tang — You control the fermentation time, which means you can make it mildly sweet or aggressively tart depending on your mood.
- No special equipment — If you already own an Instant Pot, you have everything you need to make this recipe.
- Cleaner ingredients — You decide exactly what goes in, with no thickeners, stabilizers, or added sugar hiding in the ingredient list.
- Endless versatility — Use it for breakfast bowls, baking, marinades, or even savory sauces once you see how thick and creamy it turns out.
Essential Ingredients for This Recipe
You only need a handful of ingredients, and most of them are probably already in your refrigerator.
The Base and Starter
- 8 cups whole milk (1/2 gallon / 1.9 L) — This is the foundation of the yogurt. Look for pasteurized milk that is not ultra-pasteurized, since ultra-pasteurization produces a thinner set that never quite firms up.
- 1/2 cup plain yogurt with live active cultures — Your starter needs to be unsweetened, plain, and full-fat for the best results. Check the label to ensure it contains live active cultures, otherwise your batch will not ferment.
Finishing Touches
- 1/4 cup cold water — Only needed for thinning the yogurt if you prefer a drinkable consistency instead of a thick, spoonable one.
- 2-3 tablespoons honey or maple syrup (optional) — Stir these in after chilling to sweeten your yogurt naturally, or leave them out for a tangier result.
Useful Equipment
Before you start, gather these tools so the process goes smoothly from start to finish.
- Instant Pot inner pot — The stainless steel insert needs a thorough sterilization before touching the milk, since any lingering bacteria can ruin the fermentation.
- Instant-read thermometer — This is non-negotiable for hitting 180°F during boiling and 115°F before adding the starter culture.
- Whisk — You will use this for tempering the starter into the warm milk and ensuring everything blends completely smooth.
- Fine-mesh strainer with cheesecloth — Only needed if you want Greek-style thick yogurt, but worth having on hand for that option.
- Glass jars with lids — These are your storage containers, and they need to be sterilized too since they will hold the finished yogurt for up to two weeks.
Directions to Make Pioneer Woman Instant Pot Yogurt
The process is straightforward, but each step matters for getting that thick, creamy final texture.
- Sterilize everything — Wash the inner pot, whisk, and storage containers in hot soapy water, then rinse with boiling water or run them through the dishwasher. This kills competing bacteria that could cause off-flavors.
- Add the milk — Pour all 8 cups of whole milk into the clean inner pot, place it in the base, and secure the lid with the steam release handle set to Venting so pressure never builds.
- Boil the milk — Select the Yogurt function, press Adjust until it reads Boil, and heat to 180°F. Confirm with your thermometer, since this scalding step denatures the proteins for a thicker final yogurt.
- Cool it down — Press Cancel and let the milk cool uncovered to 115°F. This takes 45-60 minutes naturally, but a cold water bath speeds it up if you stir frequently to keep the temperature even.
- Warm the starter — Set your 1/2 cup of yogurt out while the milk cools. Cold yogurt added to warm milk will clump and may drop the temperature too far, slowing the fermentation.
- Temper the culture — Spoon about 1 cup of the 115°F milk into a bowl with your starter, whisking until completely smooth. This prevents shocking the cultures and spreads them evenly.
- Combine everything — Pour the tempered mixture back into the Instant Pot and whisk thoroughly for 1-2 minutes until no streaks of yogurt remain.
- Incubate — Replace the lid with the vent still open, select the Yogurt function again, and set it for 8 hours. Shorter times yield milder yogurt while longer times bring more tang.
- Let it set — Leave the pot undisturbed for the full 8 hours without opening the lid, so the temperature stays constant for the cultures to develop. A thin layer of whey on top is completely normal.
- Check the texture — The yogurt should be thick, custard-like, and hold its shape when tilted. If it looks thin, let it sit another 1-2 hours, checking every 30 minutes.
- Strain for Greek style — Line a fine-mesh strainer with cheesecloth over a bowl, pour in the yogurt, and refrigerate for 1-2 hours for thicker texture or up to 4 hours for spreadable consistency.
- Chill completely — Transfer to clean glass jars and refrigerate at least 2 hours, since the yogurt continues to thicken as it chills.
- Sweeten and serve — Stir in honey or maple syrup if desired, then serve with fresh fruit, granola, or even olive oil and black pepper for a savory twist.
- Store properly — Keep refrigerated for up to 2 weeks, and reserve 1/2 cup as a starter for your next batch, which keeps for 2 months sealed in the fridge.
What I Got Wrong (And How I Fixed It)
These are the mistakes that tripped me up during my first few batches, so you can skip the learning curve.
- Using ultra-pasteurized milk — The first batch turned out thin and runny because the proteins were already denatured. Switching to regular pasteurized whole milk completely fixed the texture.
- Adding cold starter to warm milk — The mixture clumped immediately and took forever to ferment. Letting the starter sit at room temperature for 30 minutes before tempering solved it.
- Skipping the thermometer — I guessed at the temperatures and ended up killing the cultures with milk that was too hot. An instant-read thermometer is now non-negotiable in my kitchen.
- Opening the lid during incubation — The temperature dropped, and my yogurt took an extra two hours to set. Trust the process and keep that lid closed for the full 8 hours.
- Straining too aggressively — I used a towel instead of cheesecloth and squeezed out way too much whey, leaving the yogurt dry and chalky. A gentle gravity drain gives the right consistency.
- Not sterilizing the storage jars — One batch spoiled within a week because I skipped this step. A quick dishwasher cycle or boiling water rinse makes a huge difference.
Healthier Ways to Make Pioneer Woman Instant Pot Yogurt
If you want to lighten things up without sacrificing that creamy texture, these tweaks work well.
- Use 2% milk — Dropping from whole milk to 2% cuts about 30 calories and 3 grams of fat per serving while keeping the yogurt reasonably thick.
- Skip the sweetener — The natural tang of the yogurt is delicious on its own, and you save 30-45 calories by leaving out the honey or maple syrup.
- Strain longer — Draining the whey for 4 hours concentrates the protein, giving you Greek-style yogurt with around double the protein per serving.
- Add fresh fruit — Mash berries or sliced banana into your bowl instead of sugary jam, and you get natural sweetness plus fiber and vitamins.
- Reserve the whey — The strained liquid has protein and probiotics, so blend it into smoothies or use it in baking instead of throwing it away.
Ingredient Substitutions for Pioneer Woman Instant Pot Yogurt
Sometimes you need to swap something out, and these alternatives all work beautifully.
- Whole milk → 2% or 1% milk — The yogurt will set slightly thinner, but it still ferments fine. Just expect a less luxurious mouthfeel.
- Regular yogurt starter → Greek yogurt — Greek yogurt has more concentrated cultures, so your batch may ferment a bit faster. Watch it closely around the 7-hour mark.
- Store-bought starter → Your previous batch — Once you make yogurt once, save 1/2 cup to start the next batch. It keeps for 2 months in the fridge and works perfectly.
- Dairy milk → Oat or soy milk — Plant-based milks ferment, but they produce a thinner, softer set that needs straining. Add a thickener like agar powder if you want a firmer texture.
- Honey → Maple syrup or agave — Any liquid sweetener works, but you can also use stevia or monk fruit syrup if you are watching your sugar intake.
- Vanilla extract → Vanilla bean paste — If you want a more pronounced vanilla flavor in a sweetened batch, use a teaspoon of paste instead of a few drops of extract.
Unexpected Ways to Enjoy This Pioneer Woman Instant Pot Yogurt
This yogurt is way more versatile than just a breakfast bowl, so here are some ideas to expand your horizons.
- Savory dip base — Stir in minced garlic, fresh dill, and lemon zest, then serve with crunchy vegetables or pita chips for a lighter ranch alternative.
- Marinade for chicken — The natural enzymes in yogurt tenderize meat beautifully, so rub it on chicken with spices and let it sit for a few hours before grilling.
- Smoothie thickener — A scoop of this yogurt adds creaminess and protein to any fruit smoothie, making it more satisfying than using ice alone.
- Baking substitute — Swap this thick yogurt for buttermilk or sour cream in muffins, pancakes, or coffee cakes to add moisture and a subtle tang.
- Salad dressing base — Whisk it with olive oil, apple cider vinegar, and a pinch of salt for a creamy dressing that beats anything bottled.
- Frozen yogurt pops — Sweeten the yogurt, pour it into popsicle molds, and freeze for a healthier summer treat that tastes like a dessert.
Best Tips for Pioneer Woman Instant Pot Yogurt Success
These tips come from several batches of trial and error, and they will save you a lot of frustration.
- Check your milk label — Avoid anything labeled ultra-pasteurized or UHT, since these milks contain damaged proteins that produce a weak gel structure.
- Keep the lid closed — Peeking during incubation drops the temperature and disrupts the bacterial activity, which directly affects how thick your yogurt turns out.
- Use the Less setting — If your Instant Pot has a Less yogurt setting at 180°F, use it for the boil. The More setting runs hotter and can curdle the milk.
- Stir gently while cooling — A skin forms on the surface as the milk cools, and stirring it back in creates lumps. Stir slowly and occasionally instead of aggressively.
- Test your starter freshness — If your purchased yogurt is close to its expiration date, the cultures may be weak. Use a fresh container for reliable fermentation.
- Measure accurately — Adding too much starter makes yogurt tangier but also thinner, so stick to the 1/2 cup measurement for the best balance.
Tasty Twists on Pioneer Woman Instant Pot Yogurt
Once you master the basic recipe, these variations will keep things interesting batch after batch.
- Lavender honey — Stir a teaspoon of culinary lavender into the milk during the boil, then add honey after chilling for a floral, aromatic twist.
- Vanilla bean — Split a vanilla bean and add it to the milk before boiling, then strain it out before incubation for a subtle, complex flavor.
- Maple cinnamon — Whisk ground cinnamon into the milk before fermentation, then swirl in maple syrup at the end for a fall-inspired yogurt.
- Lemon curd swirl — Fold in a few spoonfuls of lemon curd after chilling for bright citrus notes and a beautiful marbled look.
- Toasted coconut — Toast unsweetened coconut flakes and sprinkle them over each serving, adding crunch and a nutty, tropical flavor.
- Espresso — Dissolve instant espresso powder into the warm milk before adding your starter, then sweeten with honey for a mocha-style breakfast.
Best Ways to Store Your Pioneer Woman Instant Pot Yogurt
Proper storage keeps your yogurt fresh and delicious for the full two-week window.
- Glass jars — Divide the yogurt into sterilized glass jars with tight-fitting lids, and it will stay fresh in the refrigerator for up to 2 weeks.
- Airtight containers — Plastic or silicone containers work too, just make sure they are completely airtight to prevent absorbing other fridge odors.
- Freezer cubes — Spoon yogurt into ice cube trays, freeze overnight, then transfer the cubes to a freezer bag for up to 2 months of shelf life.
- Starter reserve — Set aside 1/2 cup in a sealed container for your next batch, which keeps for 2 months in the refrigerator.
Ways to Warm It Up Again
Yogurt is usually served cold, but these methods work if you prefer it at room temperature or slightly warmed.
- Room temperature — Set the desired amount on the counter for 15-20 minutes, which takes off the chill without damaging the live cultures.
- Microwave — Warm gently at 30% power in 10-second intervals, stirring between each to avoid curdling. Stop once it reaches lukewarm, not hot.
- Warm water bath — Place the sealed jar in a bowl of warm water for 10 minutes, which heats the yogurt evenly without destroying the probiotics.
Nutritional Breakdown (per serving)
Based on 1 serving = 1 portion out of 4 total, here is exactly what you are getting nutritionally.
- Calories — 212
- Protein — 8g
- Fat — 8g
- Carbohydrates — 12g
- Fiber — 0g
- Sugar — 12g
- Sodium — 105mg
Try These Recipes
Wrapping It Up
Making Pioneer Woman Instant Pot Yogurt at home is one of those kitchen skills that feels like a secret superpower. You get thick, creamy, tangy yogurt for a fraction of the store-bought price, and it tastes dramatically fresher than anything in a plastic tub. Give it a shot this weekend, and you will never look at your Instant Pot the same way again.
PrintPioneer Woman Instant Pot Yogurt

Creamy, tangy, and luxuriously thick, this Instant Pot yogurt captures the homemade goodness of the Pioneer Woman’s classic recipe with foolproof precision. The gentle incubation cycle produces a silky-smooth texture with a bright, refreshing tartness, perfect for breakfast bowls or as a versatile kitchen staple.
- Prep Time: 15
- Cook Time: 510
- Total Time: 525
- Yield: 4 1x
- Category: Breakfast
- Method: Instant Pot / Fermentation
- Cuisine: American
Ingredients
- 8 cups (1/2 gallon / 1.9 L) whole milk (pasturized, not ultra-pasteurized, for best texture)
- 1/2 cup (120 ml) plain yogurt with live active cultures (choose unsweetened, plain, full-fat yogurt as starter)
- 1/4 cup (60 ml) cold water (for thinning, if needed)
- Optional: 2-3 tablespoons honey or maple syrup, for serving
Instructions
- Start by sterilizing all utensils that will touch the yogurt: the Instant Pot inner pot, whisk, and any storage containers. Wash them thoroughly in hot, soapy water, then rinse with boiling water or run through a dishwasher cycle. This step eliminates unwanted bacteria that could compete with the yogurt cultures and cause off-flavors or spoilage.
- Pour the 8 cups of whole milk into the clean Instant Pot inner pot. Place the pot into the Instant Pot base and secure the lid, ensuring the steam release handle is set to the ‘Venting’ position. This prevents pressure from building during the boiling phase.
- Select the ‘Yogurt’ function and then press ‘Adjust’ until the display reads ‘Boil’ (or the high-temperature setting, usually 180°F/82°C). Allow the milk to heat until it reaches 180°F/82°C. Use an instant-read thermometer to confirm the temperature; this scalding step denatures the milk proteins, yielding a thicker final yogurt.
- Once the milk reaches 180°F/82°C, press ‘Cancel’ to stop the boil cycle. Allow the milk to cool naturally in the pot, uncovered, until it reaches 115°F/46°C. This cooling takes about 45-60 minutes; you can speed it up by placing the inner pot in a cold water bath, but stir frequently to ensure even cooling.
- While the milk cools, set out the 1/2 cup of starter yogurt to bring it to room temperature. Adding cold yogurt to warm milk can cause the mixture to clump and may lower the temperature too much, slowing down fermentation.
- When the milk has cooled to 115°F/46°C, spoon about 1 cup of the warm milk into a small bowl with the room-temperature starter yogurt. Whisk until the yogurt is completely smooth and incorporated. This ‘tempering’ step prevents shocking the culture and ensures an even distribution.
- Pour the tempered yogurt mixture back into the Instant Pot with the remaining milk. Whisk thoroughly for 1-2 minutes to combine completely. The mixture should be uniformly smooth, with no streaks of yogurt.
- Place the lid back on the Instant Pot, ensuring the steam release handle remains ‘Venting’ (do not pressure cook). Select the ‘Yogurt’ function again and set the time. Use the default setting (usually 8 hours, but adjustable from 7-9 hours). A shorter fermentation yields mild, slightly sweet yogurt; longer yields more tart, tangy yogurt.
- Let the yogurt incubate undisturbed for 8 hours. Do not open the lid during this time; the constant temperature is crucial for the cultures to develop. After 8 hours, the yogurt will be softly set and may have a thin layer of whey on top—this is normal.
- After incubation, remove the lid. The yogurt should be thick, custard-like, and hold its shape when tilted. If it looks thin, you can let it sit for an additional 1-2 hours, checking every 30 minutes, until it reaches the desired consistency.
- To achieve a Greek-style thick yogurt, line a fine-mesh strainer with a double layer of cheesecloth or a clean cotton napkin, and place it over a large bowl. Gently pour the yogurt into the strainer. Refrigerate, allowing the whey to drain for 1-2 hours for a thicker texture, or up to 4 hours for a very thick, spreadable consistency. Reserve the whey for smoothies or baking.
- Transfer the finished yogurt to clean glass jars or containers with lids. The yogurt will continue to thicken as it chills. Refrigerate for at least 2 hours before serving to fully set the texture.
- After chilling, the yogurt will be creamy and sliceable. Stir in honey or maple syrup if you prefer a sweeter yogurt. Serve as is, or with fresh fruit, granola, or a drizzle of olive oil and black pepper for a savory twist.
- Store homemade yogurt in the refrigerator for up to 2 weeks. Reserve 1/2 cup of this yogurt as a starter for your next batch—it will keep for up to 2 months in a sealed container in the refrigerator.
Notes
Storage: Homemade yogurt keeps in the refrigerator for up to 2 weeks in airtight containers. Freezing: You can freeze yogurt in airtight containers or ice cube trays for up to 2 months; thaw in the refrigerator overnight, then whisk to restore texture (may be slightly watery). Reheating: Not applicable—serve cold. For best results, use whole milk (at least 3.25% fat) and avoid ultra-pasteurized milk, as it produces a thinner set. If your Instant Pot has a ‘Less’ yogurt setting (180°F), use it for the boil phase; the ‘More’ setting may overheat and curdle the milk. Always let the milk cool to 115°F/46°C before adding the starter to avoid killing the cultures.
Nutrition
- Calories: 212
- Sugar: 12g
- Sodium: 105mg
- Unsaturated Fat: 5g
- Carbohydrates: 12g
- Fiber: 0g
- Protein: 8g
- Cholesterol: 20mg
Keywords: Instant Pot yogurt, homemade yogurt, Pioneer Woman yogurt, pressure cooker yogurt, fermented dairy, Greek-style yogurt, thick yogurt, probiotic yogurt, breakfast, healthy snack, easy yogurt recipe, no-fail yogurt